简化不同程序之间的标记交换。 将时间线标记转换为 Premiere Pro、DaVinci Resolve、Media Composer、Pro Tools、Frame.io、Pix、CSV、Google Sheets、PDF 等的各种格式。该工具还允许您按颜色过滤标记、交换颜色或移动和更正时间码。
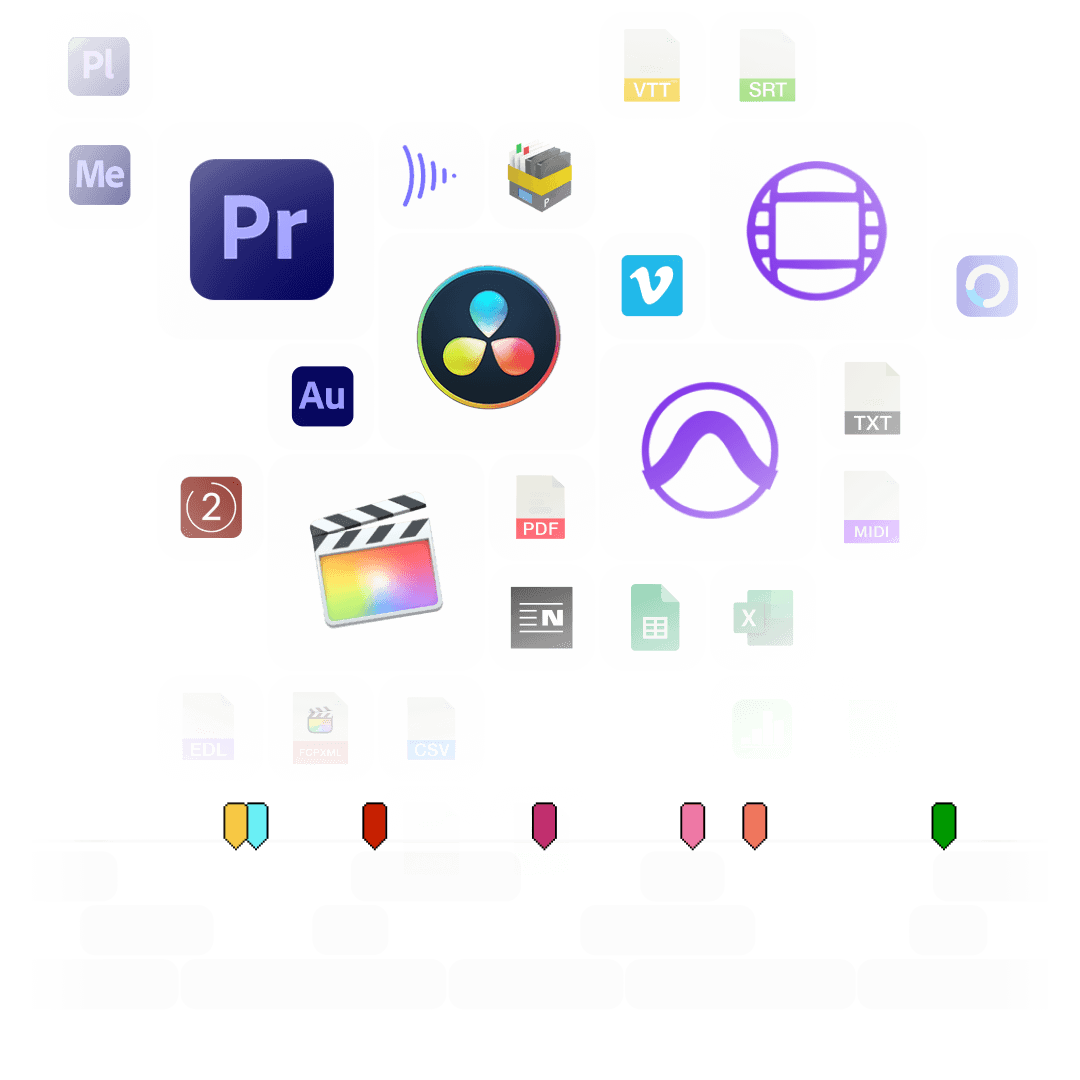
不同软件中的标记颜色没有统一的规则。 每个程序都使用不同的色调,部分也使用不同的颜色名称。EditingTools.io 的标记转换器尝试将标记颜色分配给最接近的颜色组。
通过此图形,您可以概述识别哪些颜色以及如何解释它们。
如果导入文件中未定义颜色或未知颜色,您可以定义要使用的默认标记颜色。
使用此功能,您可以过滤标记并指定仅转换某些标记。如果您想过滤多种颜色,请使用“更改标记颜色”功能。
使用此功能可将所有标记移动一定范围。您可以输入正值或负值。
激活此选项,包括Premiere Pro XML和FCP7 XML中的剪辑标记。该选项还将在CSV导出中添加轨道ID、剪辑名称、源、源时间码输入和源时间码输出。


覆盖标记名称并为每种颜色分配单独的标记标题。例如,您可以自动将所有黄色标记命名为“VFX”,将所有蓝色标记命名为“ADR”,而不会丢失描述。
使用此功能可以重新分配标记颜色。只需通过选择字段定义新的标记颜色即可。 您还可以将此选项用作高级滤色器。
您最多可以同时上传 20 个不同的标记文件,并将它们合并为一个标记文件。请注意,这些文件必须采用相同的格式。
如果您使用的不是00:00:00:00,请输入会话或编辑序列的起始时间码。例如,如果您将转换为Avid Pro Tools 和 Adobe Premiere Pro或从Frame.io 或 Pix 转换为任何其他格式,则需要执行此操作。
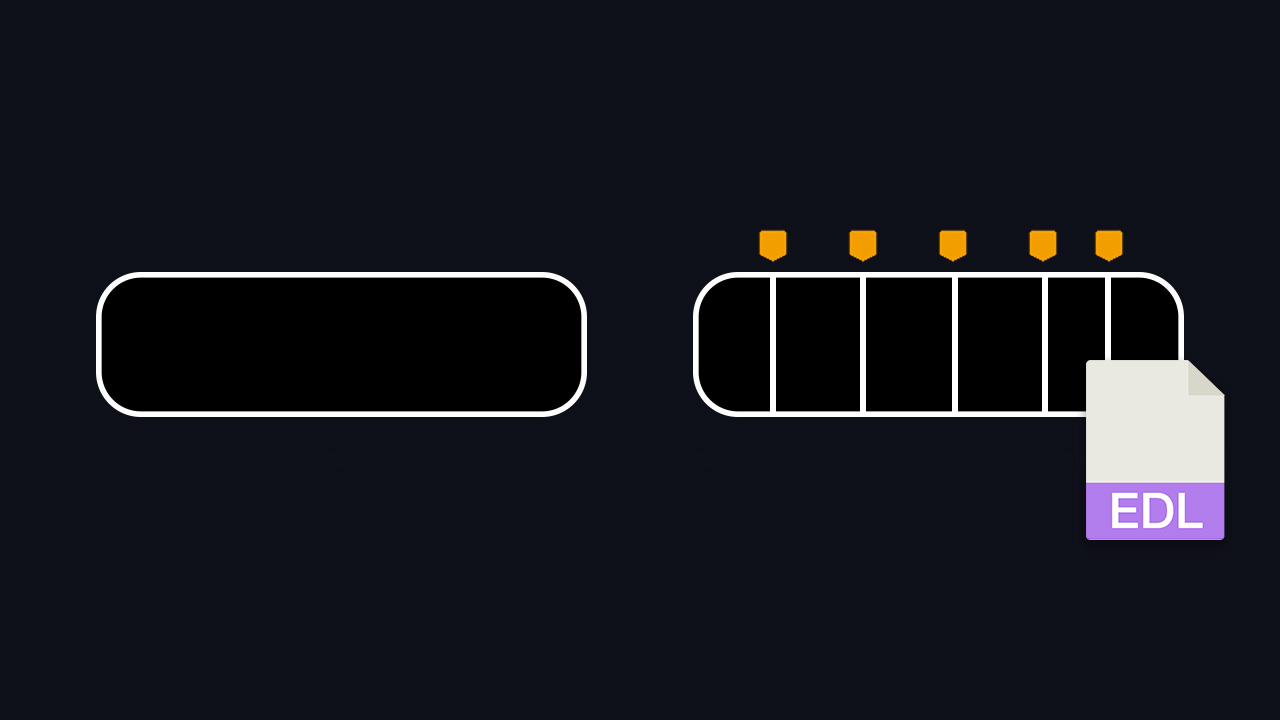
您可以选择 EDL 文件并将每个剪辑变成标记。例如,这对于一次性标记所有 VFX 镜头非常有用。将它们放在编辑程序中的单独轨道上,并仅使用该视频轨道导出 EDL。将“转换自”字段设置为“将剪辑从 EDL 转换为标记”。
The following applications and file formats are supported among others. See our instructions for each format below.
| Editing Software | Adobe Premiere Pro, Adobe Audition, Apple Final Cut Pro, Avid Media Composer, Avid Pro Tools, DaVinci Resolve |
| Review Tools | Frame.io, Vimeo Review, Dropbox Replay, Pix Systems, NoteTracks Pro, Krock.io |
| Subtitles | SRT, VTT, SBV, (more in our Subtitle Tool) |
| Docs & Sheets | PDF, CSV, Text, Excel, Google Sheets, Apple Numbers, OpenDocument Spreadsheet, TSV |
| Other Tools | oTranscribe, Adobe Prelude Live Logger, NanoLokit Logs |
Go to "File -> Import" and select the xml file.
Select the sequence in your project tab.
In menu, go to: "File -> Export -> Final Cut Pro XML"
Select "Final Cut Pro XML" and hit ok.
You can use Adobe Prelude Live Logger app to create live timecode notes and tags which you can export and convert in this tool into other marker formats.
Go to: "Tools -> Marker"
Right Click: Import Markers
Select the generated "xml" or "txt" file from EditingTools.io.
Go to: "Tools -> Marker"
Right Click: "Export Markers as XML" OR "Export Markers as Text"
Select "Change marker duration" from the "more options" menu.
Yes, you can overwrite the marker name within the marker description field in Media Composer. Simply use "|" to separate the name and the description. When you import the markers to EditingTools.io, it will be split into name and description.
Avid Media Composer might fail importing markers if they overlap.
There are 3 different ways to bring markers into Avid Pro Tools. The most suitable of these 3 is the Pro Tools PTX format.
| PTX Session Data | MIDI File | EDL File | |
|---|---|---|---|
| Marker colors | Yes | No | No real markers but clips with the marker name as clip name. |
| Individual Session Timecode Start | Yes | Yes | Not relevant |
| Adjustable audio pull rate | Yes | No | Not relevant |
| Adjustable sample rate | Yes | No | Not relevant |
| Import new markers at a later time | Yes | No. Pro Tools allows only one Midi track with markers per session. | Yes |
In ProTools, go to "File > Import > Session Data". Select and open the generated ".ptx" file. In the "Import Session Data" window, make sure the "Ruler Markers / Memory Locators" box in the lower "Session Data" panel is checked. Press "OK" and your markers will be imported.
The PTX converter was developed in partnership with Sounds in Sync. Therefore, we are currently unable to offer the converter for free.
We are currently unable to offer a flat rate for PTX conversions. If you need unlimited conversion, you can have a look at EdiMarker from Sounds in Sync.
Under "File -> Import -> Midi" you can import the generated marker file into Pro Tools. Select the file and then "Add Midi Track". Attention, if there is already a midi track with markers you have to remove them first. If your session is not at 00:00:00:00 the imported markers have an offset.


Under "File -> Export -> Session Info as text" you can export the markers from Pro Tools.

1. Create a new timeline or open a timeline in your project
2. Right-click the sequence timeline in your media tab.
3. Navigate to: Timelines > Import > Timeline Markers from EDL
4. Select the edl marker file for Resolve.
1. Select the sequence in your media tab.
2. Right-click the sequence timeline.
3. Navigate to: "Timeline > Export > Timeline Markers to EDL (.edl)"
Navigate to: "Timeline > Export > Edit Index (.csv)"
Open the comments panel on the right side in Pix. Press the three dots and select "Export". You can then download a CSV file from Pix that you can import into EditingTools.io.

Export markers from frame.io in marker menu "Download as File" > "CSV".
Export review notes from your project on vimeo.com as "CSV". Select "Vimeo Review" in the tool as "from" value.
You can use this tool to convert markers to YouTube Chapter Markers for the video description. Select "Convert to" to "YouTube Chapter Markers (.txt)". Open the generated .txt file and paste its contents into your video description.
To export markers and comments from NOTETRACKS Pro, click the Download button in your active session and select "NoteTracks.com > Audition Markers (.csv)". In our Marker Tool, select Convert from "NoteTracks.com > Audition Markers (.csv)".
NOTETRACKS Pro is an online review platform for audio creators. Learn more at notetracks.com.
To export comments from Krock.io, select a video and open the menu via the three dot icon. Select "Export comments to csv" to export the comments. In the marker converter select "Krock.io" as "convert from" value.
Krock.io is an online media content review tool. Learn more at Krock.io.
Convert comments from E-Mail, Word, Pages, Slack, Chats or any other clean Text Source into markers using the Textfield option. Simply copy and paste the comments into the textfield.
0:32 Please add Music
1min Intro
1:55min Add Cut
17.6min VFX Shot?
21:12 Add Detail Shot
23.1 VFX
75:20 Credits?
1:32, 01:32, 00:01:32, 1.32, 01.32, 1:32min → TC 00:01:32:0075:20, 75:20min, 75.2 → TC 01:15:20:00
Open Google Sheets and go to "File -> Import". Upload the generated CSV file and press "Import Data".

Go to "File -> Download -> Comma-separated values". Download the CSV demo file here: demo_marker_file.csv.

Markers can be exported as XLSX or XLS files for Microsoft Excel.
Markers can be exported as ODS (OpenDocument Spreadsheet) file for Open Office Calc.
Open Numbers and go to "File -> Open". Simply open the CSV file.

Go to "File -> Export -> CSV". Download the CSV demo file here: demo_marker_file.csv.

Yes. Just take a look at our demo files to match the rules for correct interpretation. The marker converter accepts comma-, semicolon- and tab-separated files.
Download the CSV demo file here: demo_marker_file.csv.
Marker CSV Preset in Google Sheets: Open in Google Drive.
Only "Timecode In" is necessary. All other headers are optional. Accepted colors: blue, cyan, green, yellow, red, orange, magenta, purple, fuchsia, rose, sky, mint, lemon, sand, cocoa, white, black
Simply select your subtitle file.
Yes. Have a look at our Subtitle Tool & Converter.
To export a PDF, select pdf as output format.
You can use otranscribe.com to generate your markers from any audio or video file.
To export the markers go to "Download Transcript as" and download your script as "oTranscribe format (.otr)".
Ambient's NanoLockit is a great way to log takes on set. The log files (.markers) can be converted to any other format using this marker converter.
Learn more about the NanoLockit on ambient.de/collections/nanolockit
You can export comments from Dropbox Replay in JSON format to convert them with our tool.
Our free marker tool offers a huge amount of features to convert and modify files. However, there are some limitations on the free tier that require a PRO subscription to unlock.
Explore Pro Features| Feature | Free | Pro |
|---|---|---|
| Conversion limit | Fair Use | No limit |
| Entries per file | up to 1200 | No limit |
| Premium formats | ✕ | ✓ |
| File encryption | ✕ | ✓ |
We have a light version of our Marker Converter available as an offline app for macOS and iOS. It is aimed at users on air-gapped systems and enterprise customers.
The supported formats and features in the standalone app are outlined in the app description. Not all features from the online app are available in the offline app.
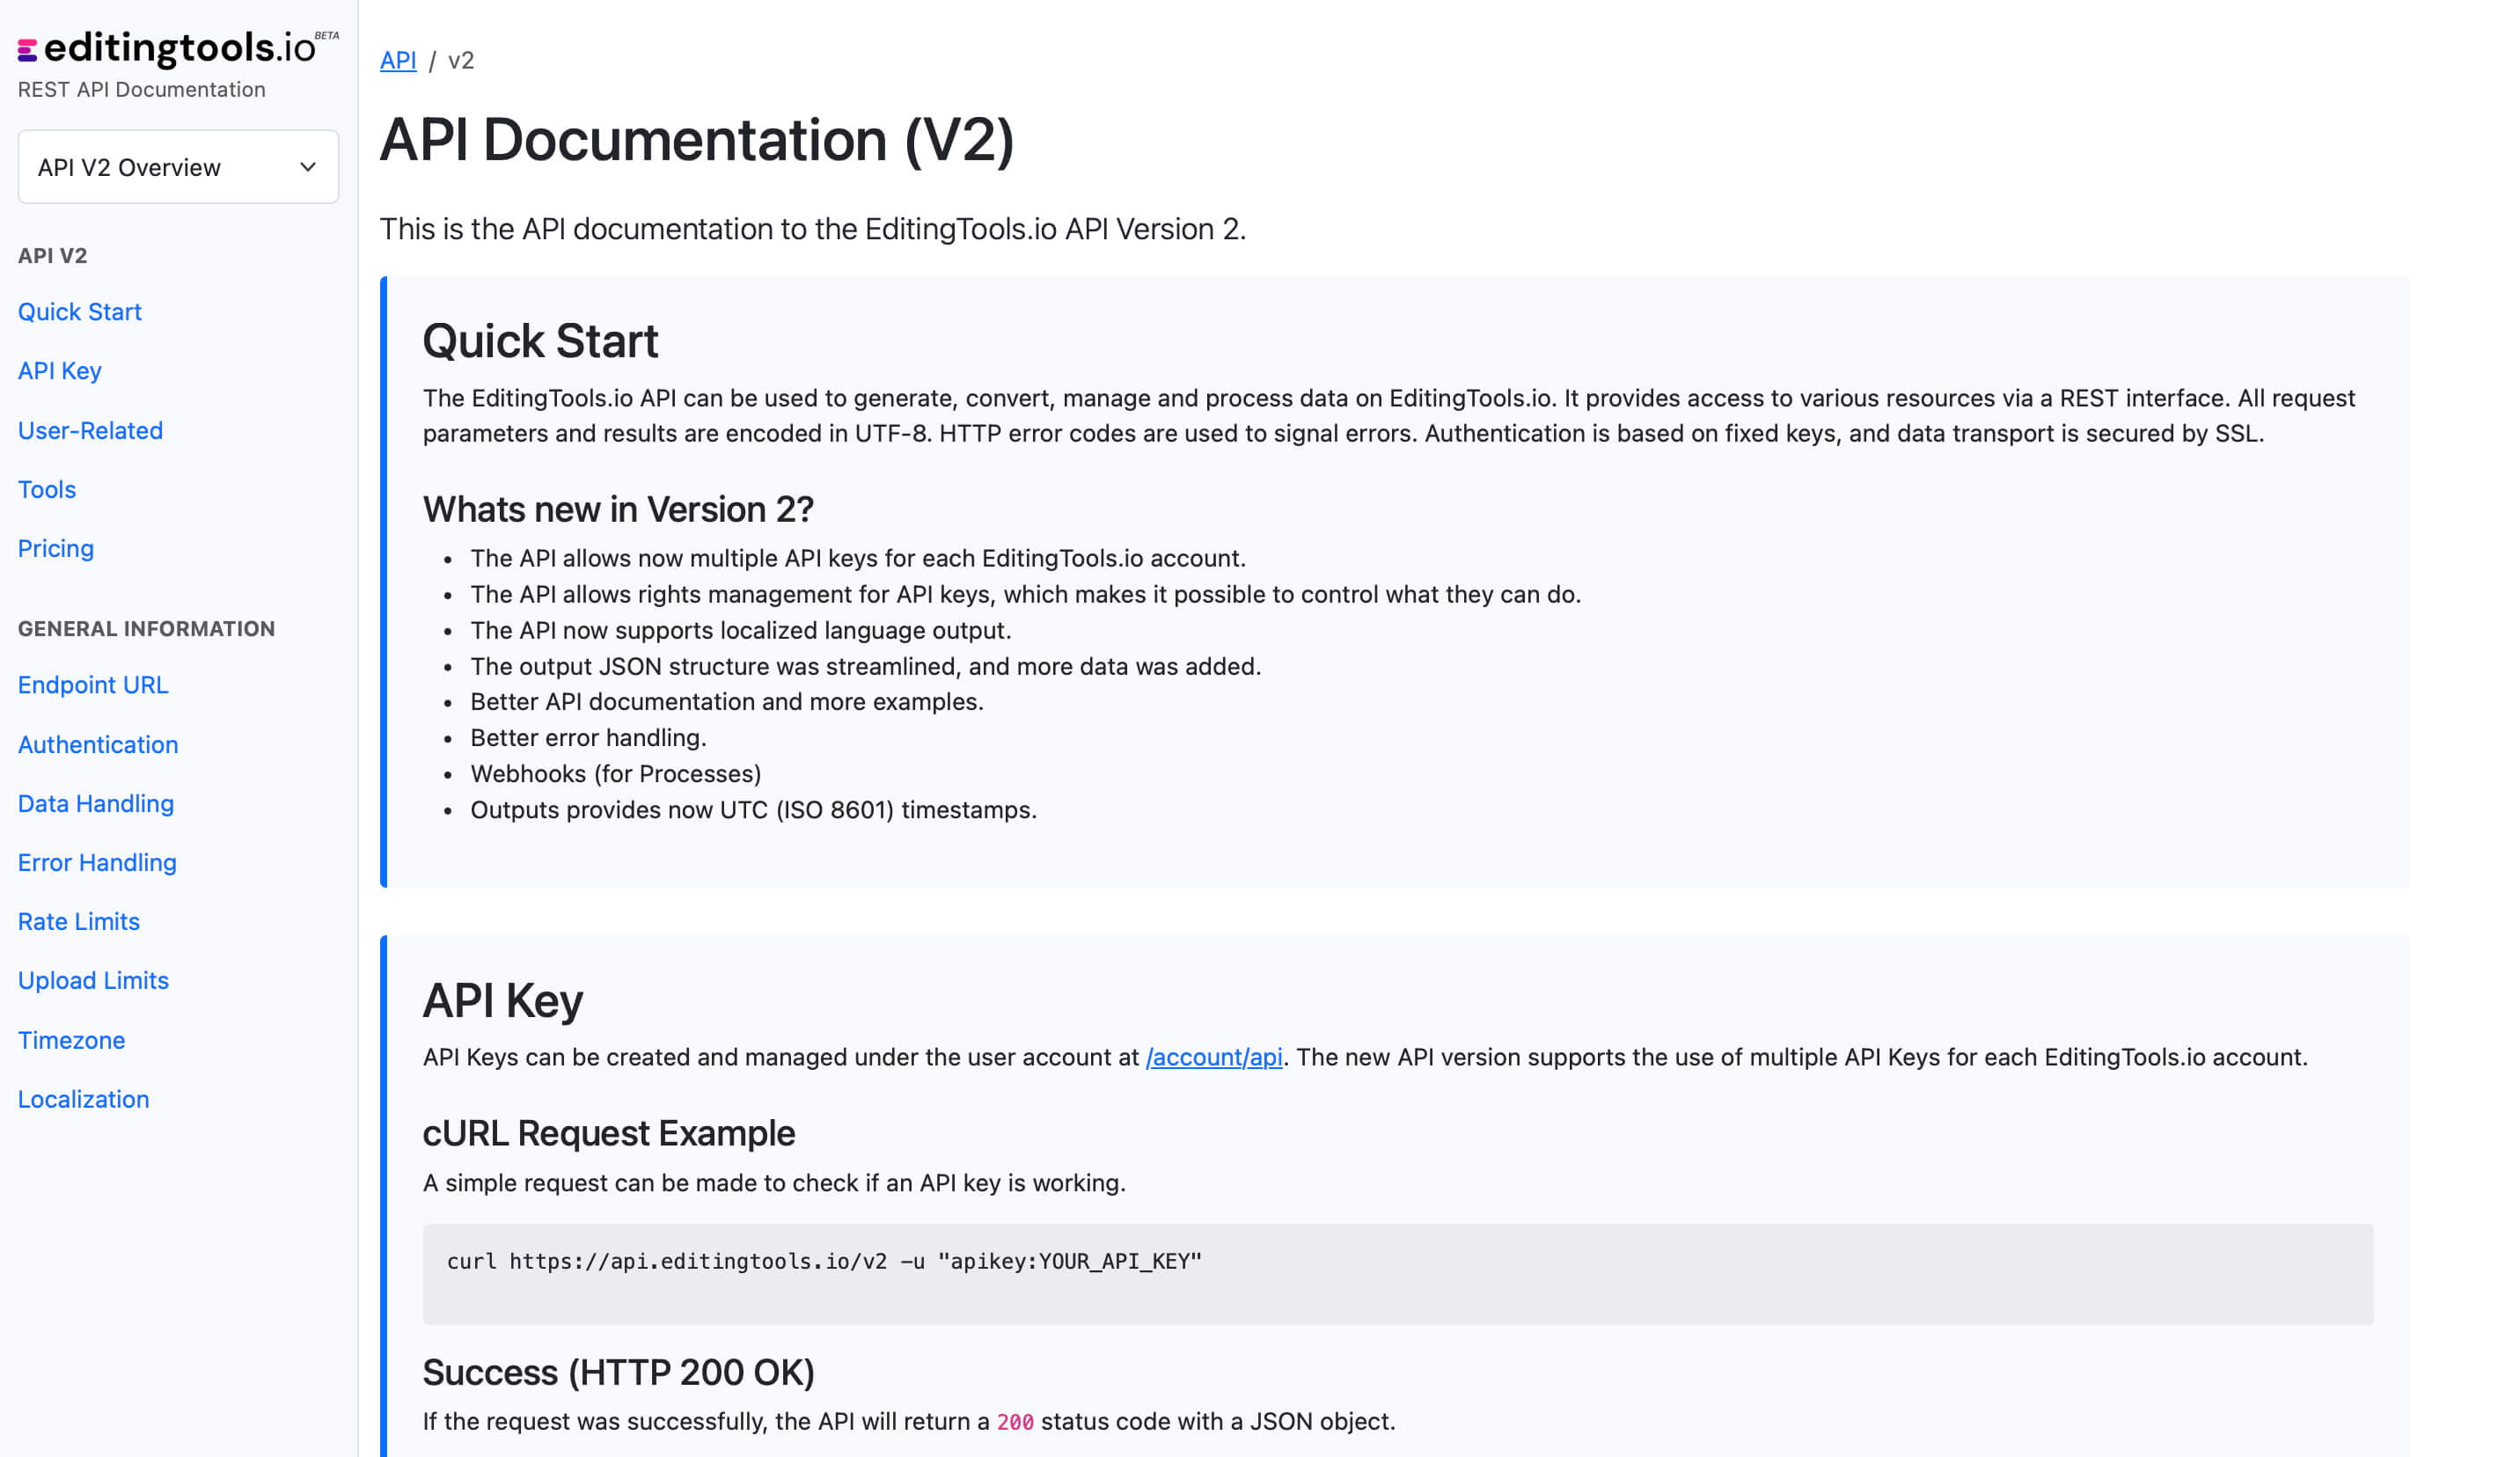
无论您是开发人员,还是只想使用 Zapier 或 Make 等工具自动化更多流程,都可以使用我们的 API 将此工具轻松集成到您的工作流程中。有关集成 REST API 的更多信息,请参阅我们的 API 文档。
应用程序接口文档